Publications
1 Overview
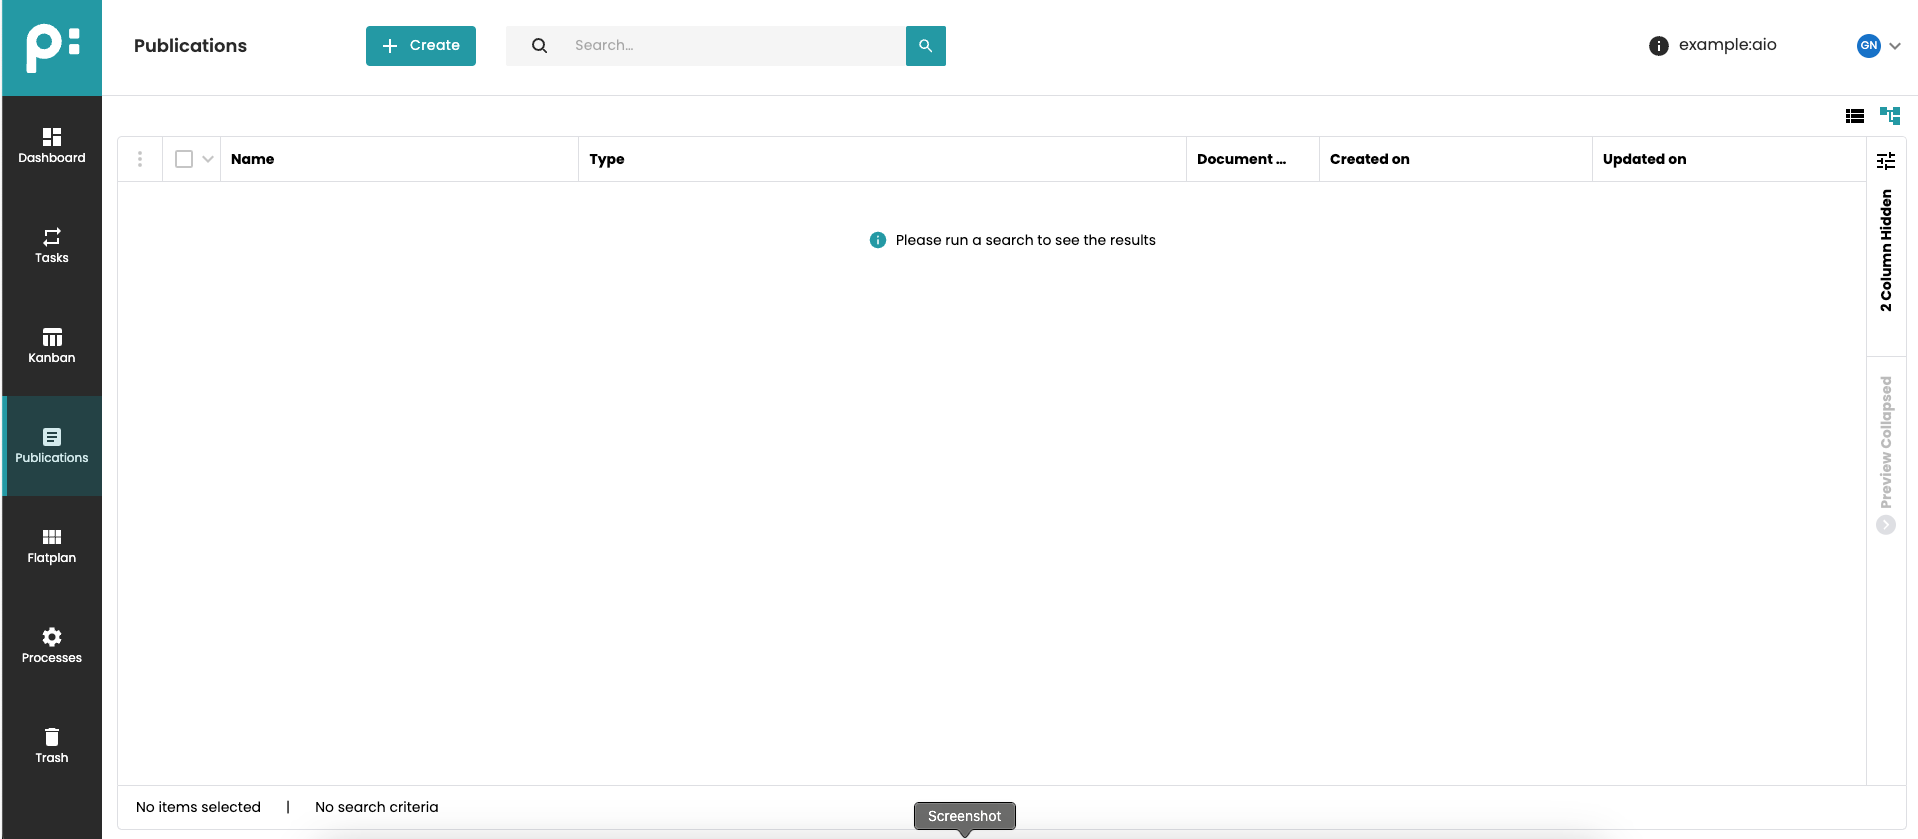
The Publications window is the window to create publications, folders, and documents, to edit all their fields and to do many things on publications and folders. There are two modes for the window, list, and tree mode. The search in list mode will show all Publications, Folders and Documents, which names contain the given string. In tree mode, only Publications are searched.
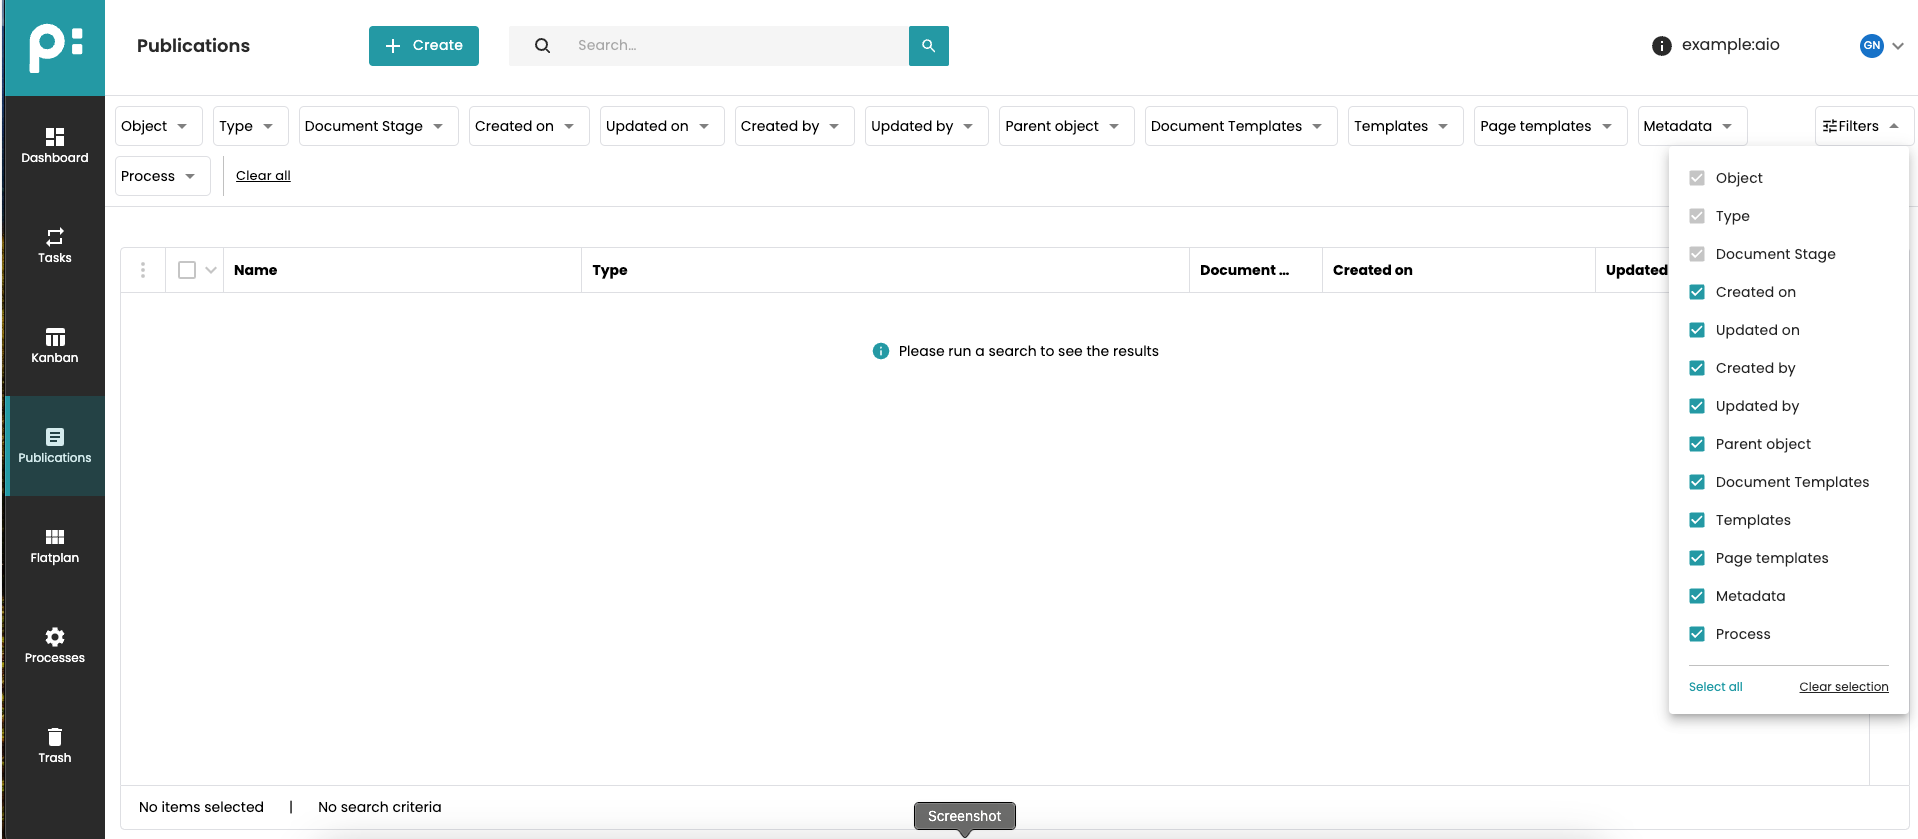
Moreover, in the list mode, it is possible to filter by the criteria visible on the screenshot below:
The "Create" button creates a new publication, of given name, type, and description.
This window displays three different item kinds, namely publications, folders, and documents, in the same list or tree. The actions available for an item depend on its kind. Executing the same command on different kinds usually makes no sense. Therefore, the selection of items is restricted, only items of the same kind can be selected together. When the user selects the first item, the kind is fixed as long as any selection is active. The user can deselect all items by a single click on the header check box or deselecting every single item. If a user clicks in an active unset check box, the row is added to the selection. Please note that if something is selected already, only checkboxes of rows of the same type are enabled. If the user clicks a set check box, it is unset and the row is removed from the selection. If a user clicks anywhere (not the check box) on a row, that row is selected, everything else is deselected. If a row is selected, the check boxes of all rows of the different types are disabled. If nothing is selected, all check boxes are enabled. Selecting all items is done by clicking the header check box in simple grids. Here the user must click the angle button next to the header check box and click on publication, folder, or document. This will select all items of the chosen kind.
The commands in the context menus are explained in this table:
| Symbol | Command | Publication/Folder/Document | Multi-Selection | Explanation |
|---|---|---|---|---|
| View | PFD | Yes | Opens the detail panel in read-only mode. See below. | |
| Edit | PFD | Yes | Opens the detail panel in bulk edit mode. See below. | |
| Bulk Edit | PFD | Yes | Opens the detail panel in edit mode. See below. | |
| Edit FlatPlan Stage | D | No | Opens the Flatplan editor in edit mode. | |
| View FlatPlan Stage | D | No | Opens the Flatplan editor in view mode. | |
| Start Process | PFD | Yes | A dialog allows the user to select a process in a drop-down menu, enter all required data for given process and start the process immediately or at a picked date and time. | |
| Create Folder | PF | No | Creates a new folder in selected publication/folder behind the existing ones, of given name, type, and description when the user clicks the button Create. Clicking Cancel cancels the whole action. | |
| Create Document | PF | No | Creates a new document in selected publication/folder behind the existing ones. User must select a method to create the name. Standard methods are · Automatically · Manually · Automatic count from Custom methods can be implemented. The naming methods work for planner and Neowise. User must select the document type, either static or dynamic. User must select a document template, and the number of documents to be created. User may select a parent page. The field Pages in Document Template displays the number of pages found in the selected document template, and the field Number of pages displays, how many pages will be created. The documents are created when the user clicks the button Create. Clicking Cancel cancels the whole action. | |
| Upload Document | PF | No | The user can upload any number of documents to the selected publication/folder. The documents are uploaded when the user clicks the button Upload. Clicking Cancel cancels the whole action. | |
| Duplicate Publication | P | Yes | A wizard panel opens on the right side of the window. The user is guided through the steps by clicking 'Next' button, the angle button or the lettering of a step. 1. Duplication method Custom methods can be implemented. The naming methods work for planner and Neowise. Standard methods are · Copy publication 2. Documents name settings User chooses whether new documents get new names or the name from their parent document. 3. Set process Not supported yet. When all required settings are done, clicking the button Finish will start the action. Clicking Close, cancels the whole action. | |
| Duplicate Folder | F | Yes | A wizard panel opens on the right side of the window. The user is guided through the steps by clicking Next or clicking the angle on a step. 1. Destination User must select the publication or folder in which the folder copy should be created. A tree view shows all publications. A search field can be used for filtering. Clicking on the looking glass button or pressing the Return key activates the filter. Folders are displayed by clicking on the angles. Selection of the destination is done by clicking on a publication/folder. 2. Duplication method Custom methods can be implemented. The duplication methods work for planner and Neowise. Standard methods are · Copy publication 3. Documents name settings User chooses whether new documents get new names or the names from their parent document. 4. Set process Not supported yet. When all required settings are done, clicking the button Finish will start the action. Clicking Close, cancels the whole action. | |
| Duplicate Document | D | Yes | A wizard panel opens on the right side of the window. The user is guided through the steps by clicking Next or clicking the triangle on a step. 1. Destination User must select the publication or folder in which the document copy should be created. A tree view shows all publications. A search field can be used for filtering. Clicking on the looking glass button or pressing the Return key activates the filter. Folders are displayed by clicking on the angles. Selection of the destination is done by clicking on a publication/folder. 2. Duplication method Custom methods can be implemented. The duplication methods work for planner and Neowise. Standard methods are · Copy document · Page adoption 3. Documents name settings User chooses whether new documents get new names or the names from their parent document. 4. Set process Not supported yet. When all required settings are done, clicking the button Finish will start the action. Clicking Close, cancels the whole action. | |
| Move Folder | F | Yes | A wizard panel opens on the right side of the window. The user must select the destination for moving the folder, a publication, or a folder. A tree view shows all publications. A search field can be used for filtering. Clicking on the looking glass button or pressing the Return key activates the filter. Folders are displayed by clicking on the angles. Selection of the destination is done by clicking on a publication/folder. Clicking the button Save will start the action. Clicking Close, cancels the whole action. | |
| Move Document | D | Yes | A wizard panel opens on the right side of the window. The user must select the destination for moving the document, a publication, or a folder. A tree view shows all publications. A search field can be used for filtering. Clicking on the looking glass button or pressing the Return key activates the filter. Folders are displayed by clicking on the angles. Selection of the destination is done by clicking on a publication/folder. Clicking the button Save will start the action. Clicking Close, cancels the whole action. | |
| Delete Publication | P | Yes | The selected publications are moved to the trash. In the Trash window you have the option of restoring deleted publications or permanently deleting them. | |
| Delete Folder | F | Yes | The selected folders are moved to the trash. In the Trash window you have the option of restoring deleted folders or permanently deleting them. | |
| Delete Document | D | Yes | The selected documents are moved to the trash. In the Trash window you have the option of restoring deleted documents or permanently deleting them. | |
| Unlock Document | D | Yes | The selected and locked (opened/checked-out) document can be unlocked here. | |
| Download | PFD | Yes | A dialog allows the user to select a download process in a drop-down menu, enter all required data for given process and start the process immediately or at a picked date and time. The download files will then be prepared on the server. After the download process finished, the files can be downloaded on the Download tab in the detail panel, see below. | |
| Other -> Copy Id to Clipboard | The command copies the technical identifier to the clipboard. |
2 Document Preview
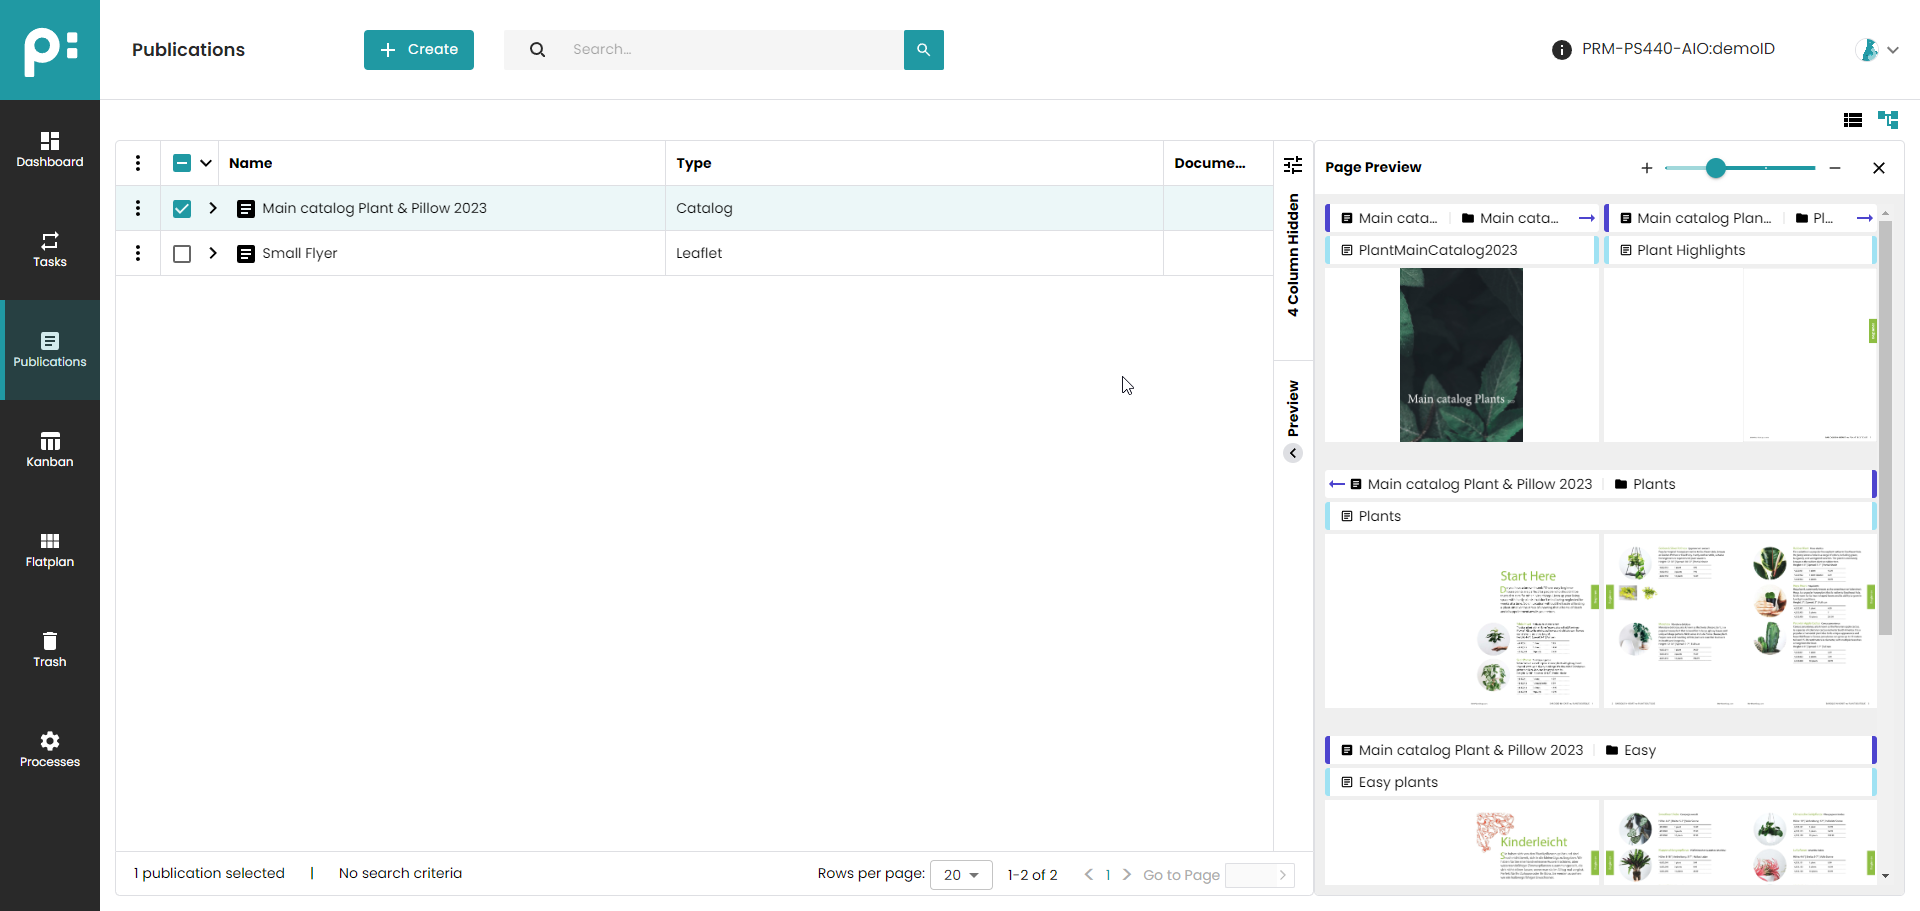
If the user selects publications, folders or documents, the Preview panel is available. By clicking on the angle button or on the lettering ‘Preview Collapsed’ the preview panel on the right side opens. The document pages are displayed. Zooming is done via the zoom selector. Its setting defines how many columns are displayed. You can vary between one (+) and four (-). Clicking the x button, the angle button or the lettering 'Preview' closes the preview.
3 Detail Panel
In the publication list or tree view the commands Edit and View open the detail panel. View opens it in read-only mode.
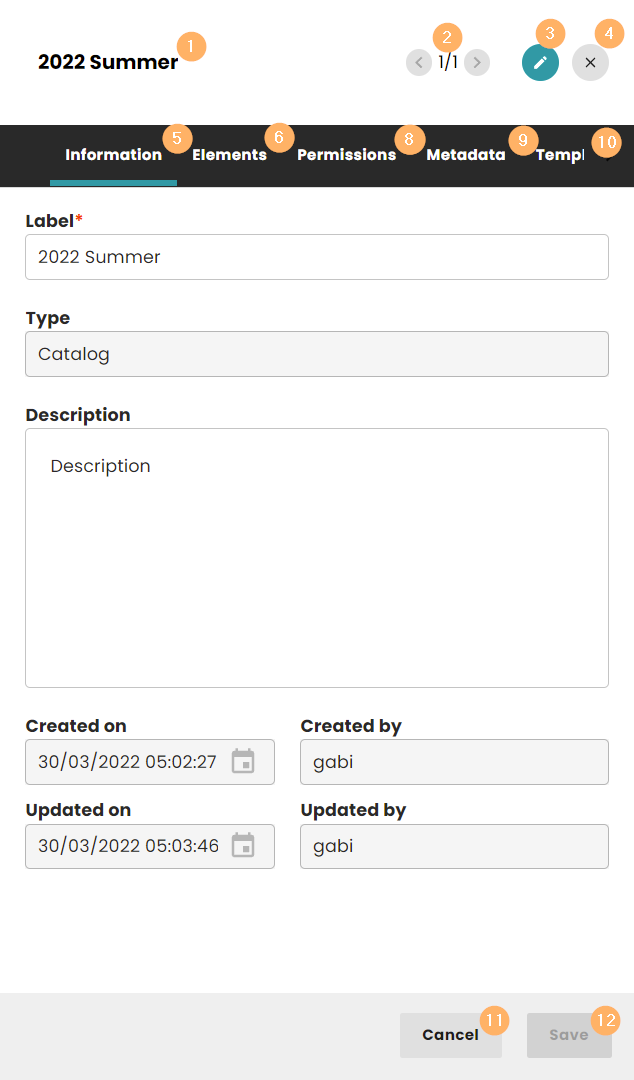
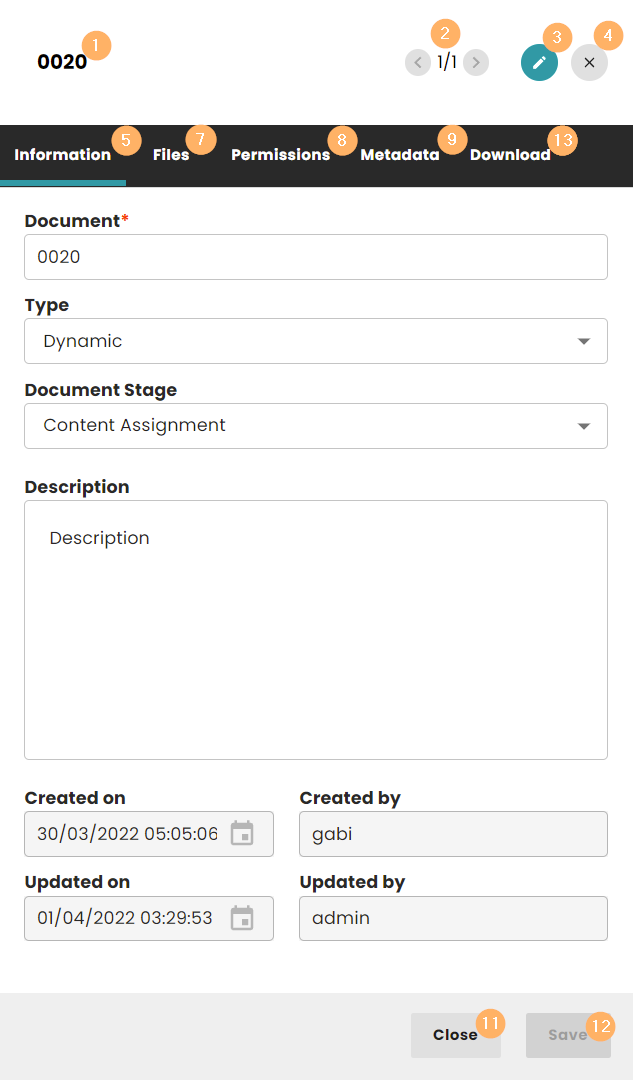
- Name of the activated PFD
- Control to switch between selected PFDs
- Button to toggle Edit and View mode
- Close without saving
- Tab Information contains
- Name
- Type (always read-only)
- Description
- Created On, Created By, Updated On, and Updated By (all always read-only)
- Tab Elements for publications, and folders.
The folders and documents in the selected item are displayed. The sequence of the elements can be reordered by drag and drop.
- Tab Files for documents contains
- Technical filename (always read-only)
- File path (always read-only)
- Document template
- Source Document
- Publication path (always read-only)
- Technical filename of source document (always read-only)
- File path of source document (always read-only)
- Tab Permissions
Users and teams can be given permissions for publications, folders, and documents. There are four different permissions:
- Process allows starting a process for the PFD
- Read allows viewing the PFD
- Edit allows changing the PFD
- Delete allows deleting the PFD
To add permissions for a user, use the button ![]() , for a team the button
, for a team the button ![]() .
.
- Tab Metadata
Here the user can edit or view the metadata (previously called publication and document parameters) for the PFD. Each metadata group is shown as a sub-tab.
- Tab Templates for publications, and folders
Here the user can assign and remove
- Product templates
- Page templates
- Document templates
Each on its own sub-tab.
- Cancel cancels your changes and closes the panel.
- Save saves your changes. The Save button is only active if there are unsaved changes.
- Tab Download for publications, folders, and documents. See Flatplan Delivery Stage for its explanation.
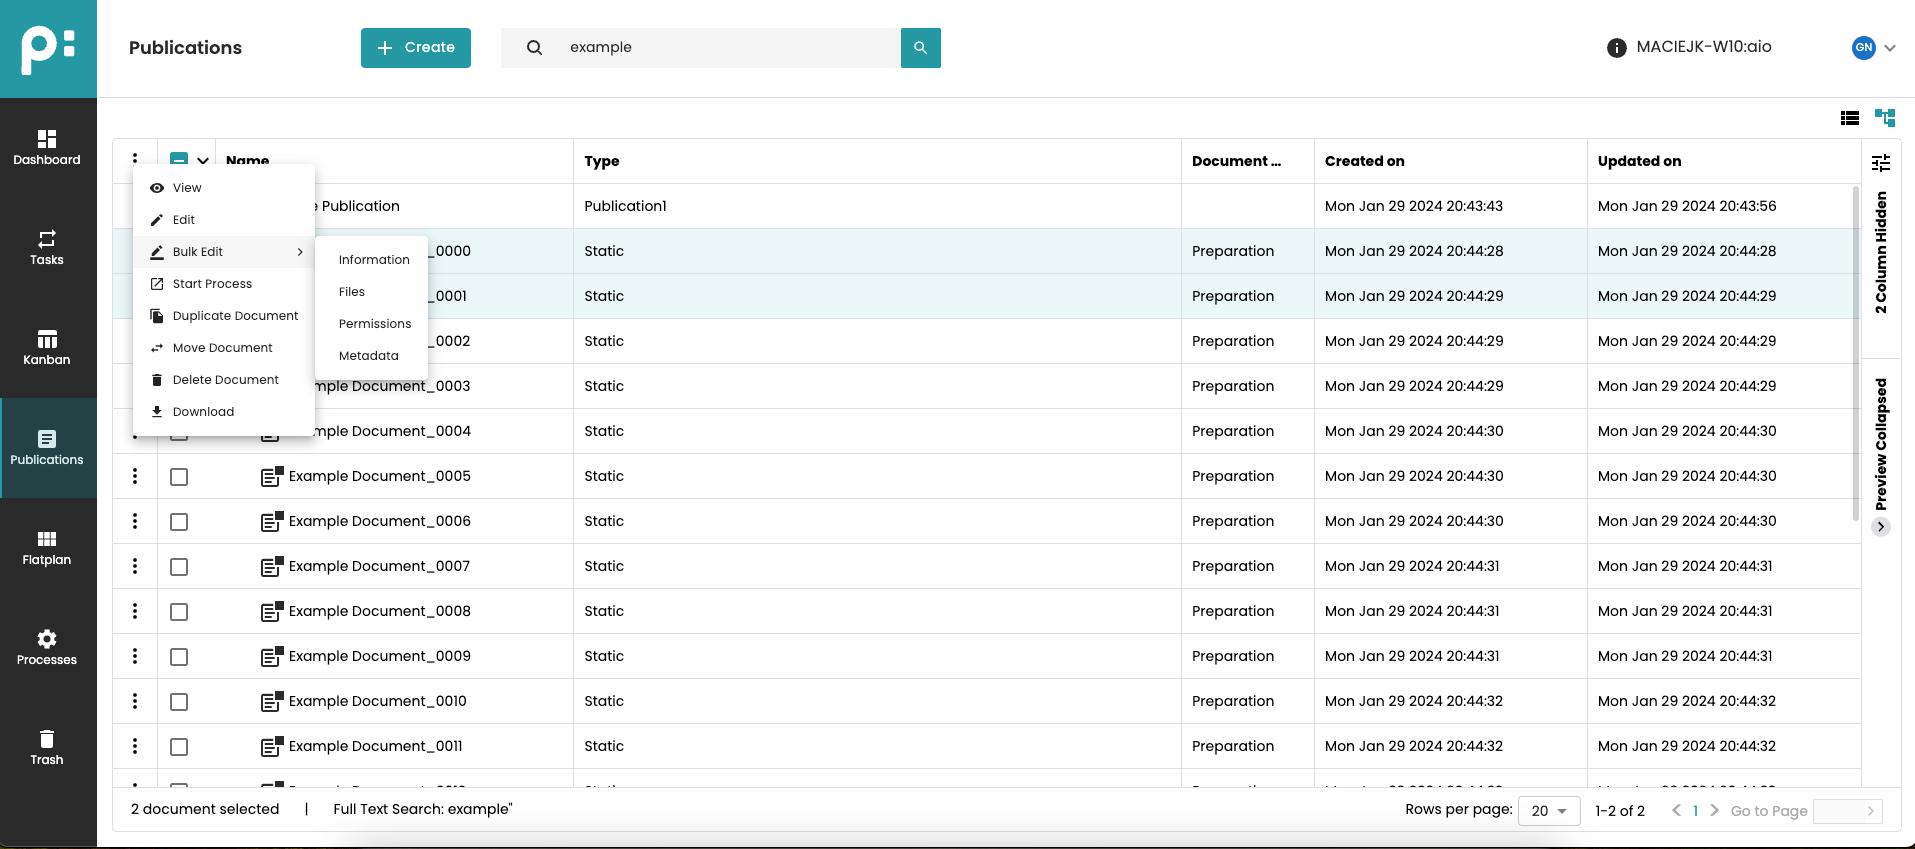
4 Bulk Edit
Bulk Edit functionality allows to set the same values for multiple elements at once. To enable Bulk Edit, select multiple elements of the same type and open the multi-selection context menu. Depending on the element type, you will be able to change the following:
- Publication/Folders: information, permissions, templates, metadata
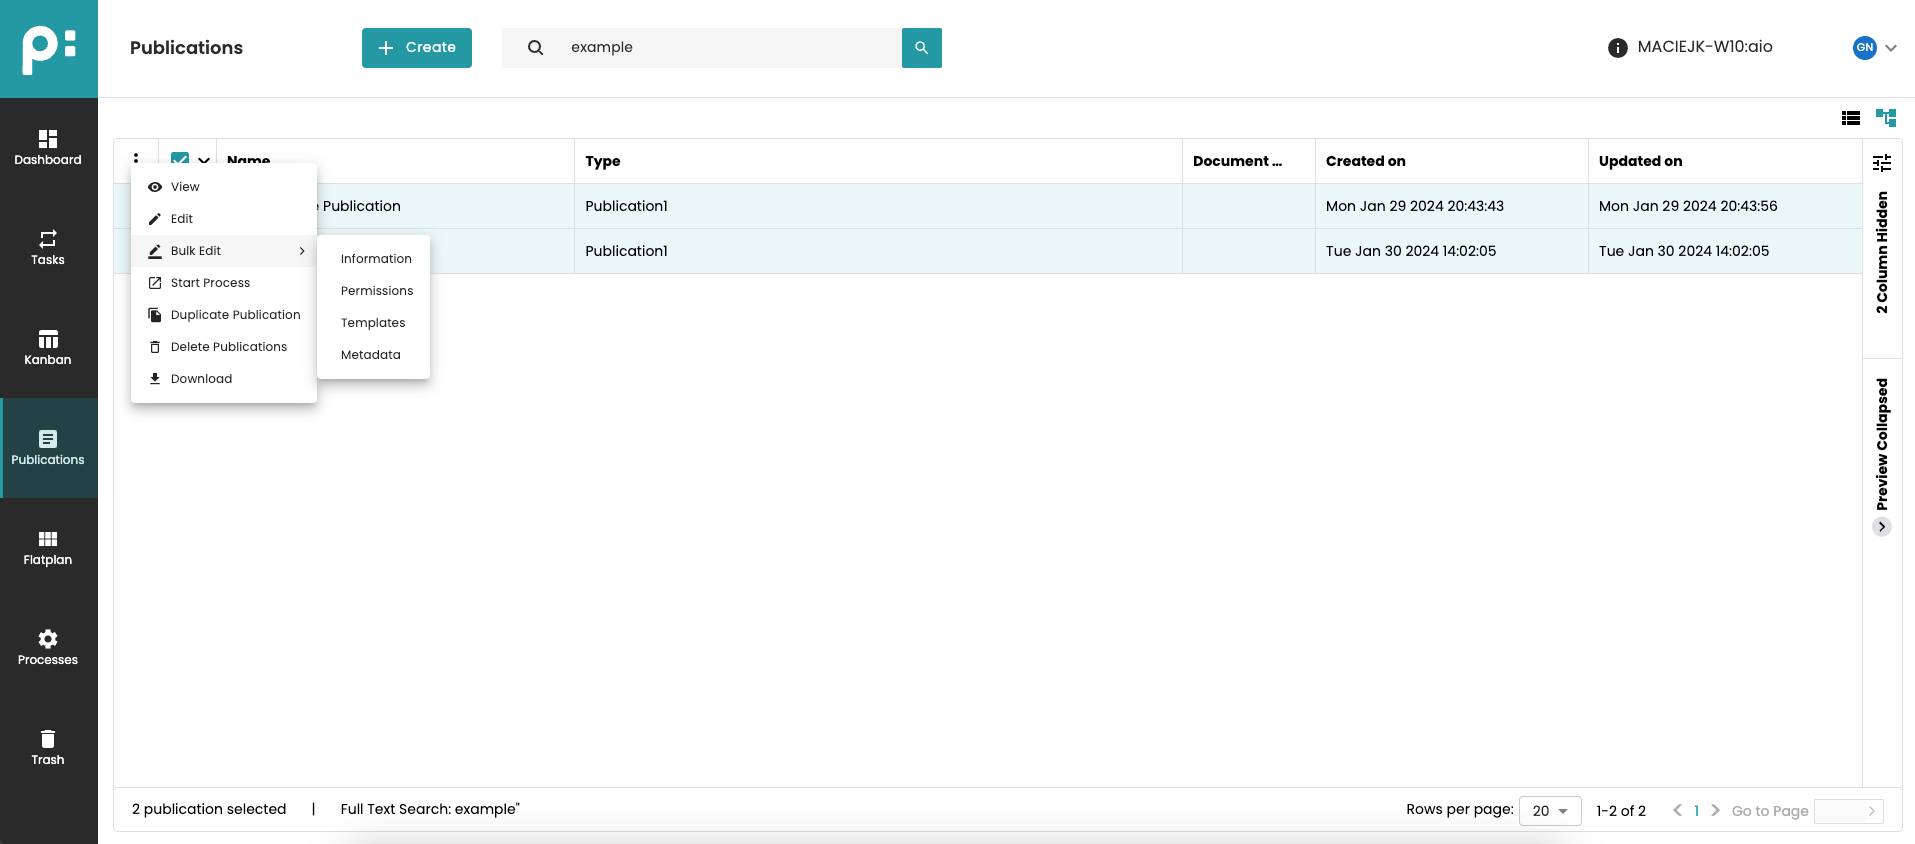
- Documents: information, files, permissions, metadata
After choosing the type of details, you will be able to select the information you want to change, e.g.,
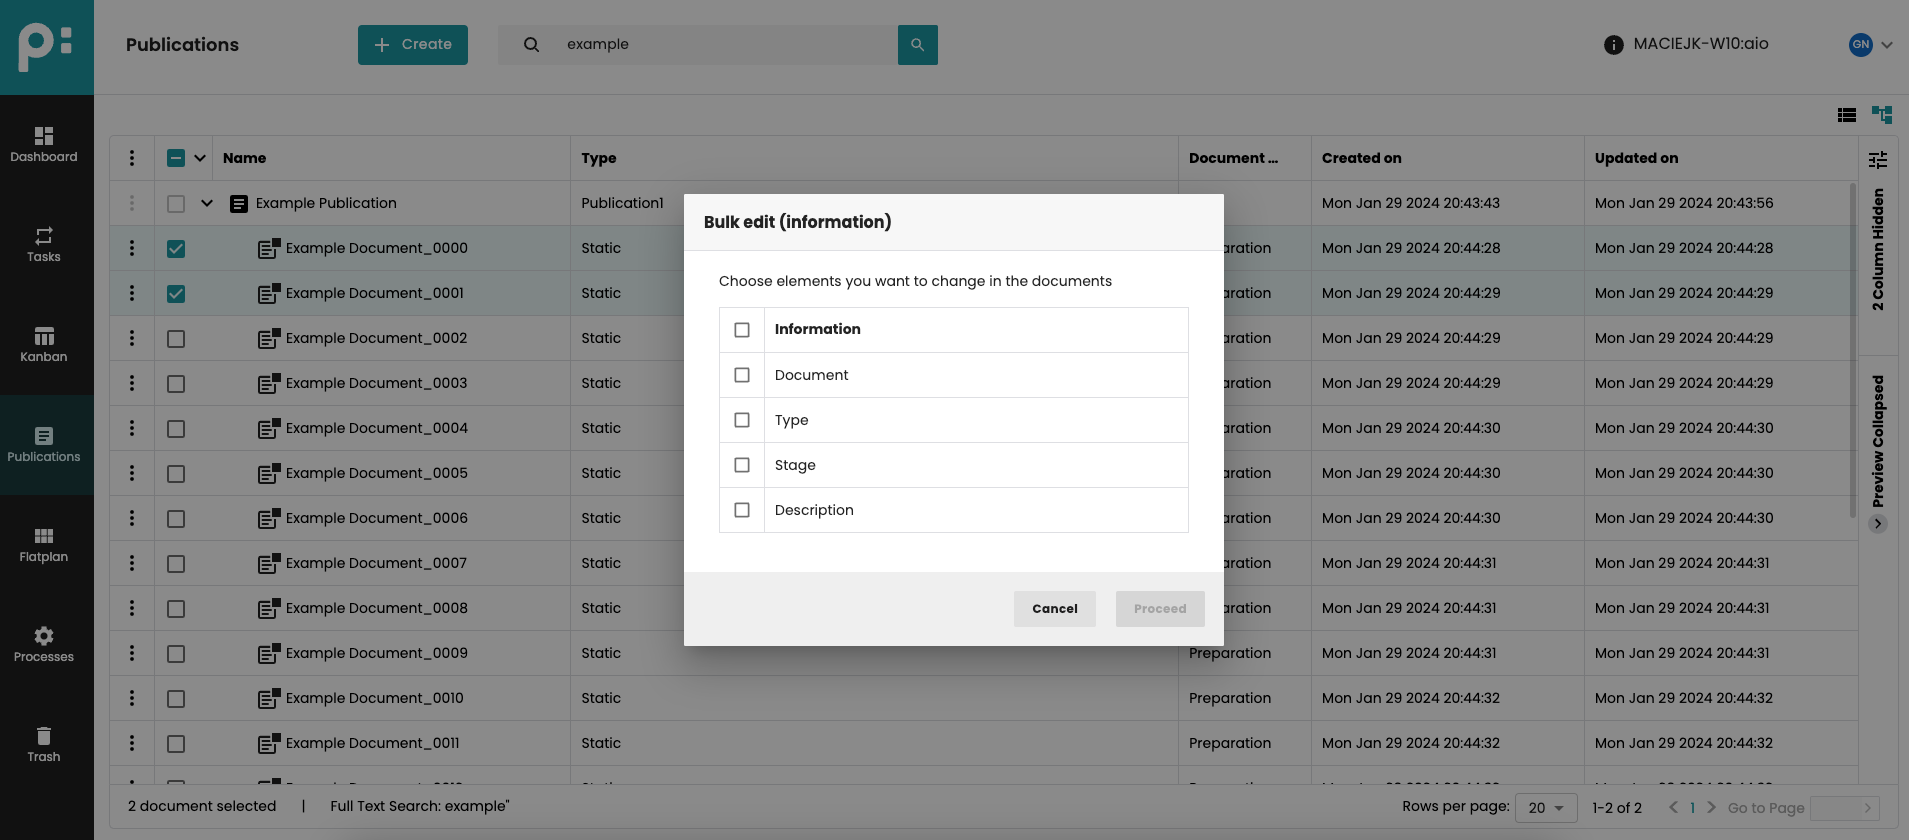
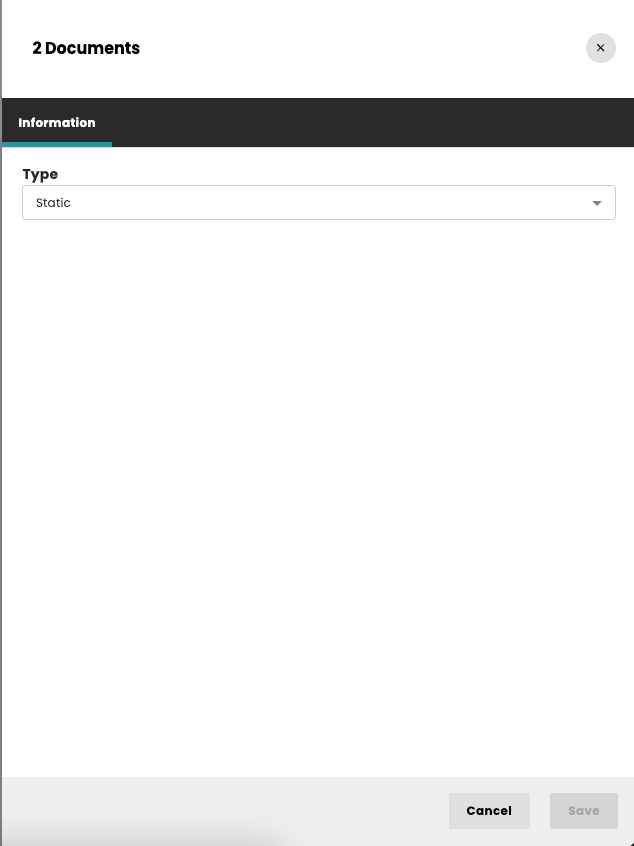
If the elements have the same value, the value is displayed:
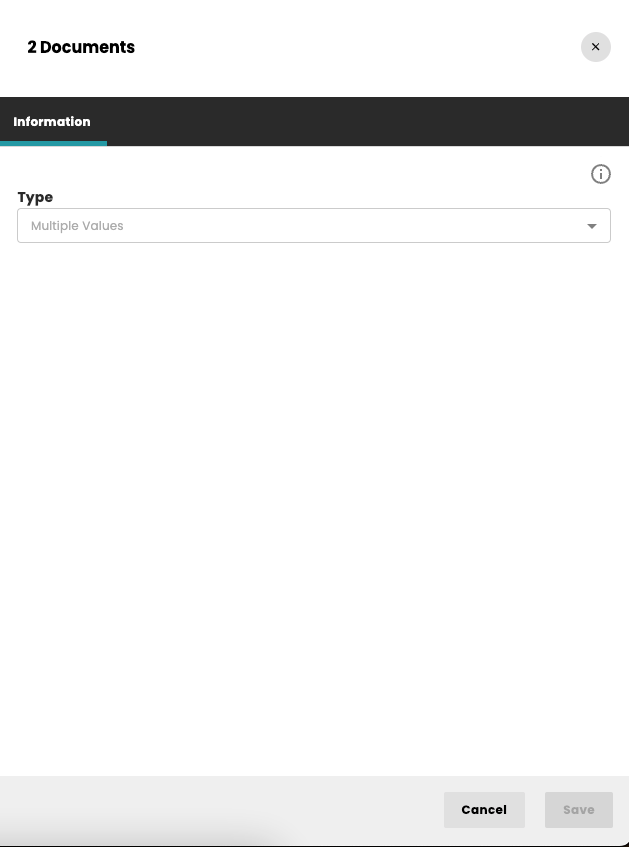
If the values are different, the following placeholder is displayed:
After changing the value and saving changes, the same value will be used for all selected elements. This behavior is applied to all types of elements and information.
5 Migrate from Layout Briefing to Grid Planning
Documents created with Briefing Module of priint:planner are not supported in Neowise Grid Planning. However, it is possible to migrate them with a new camunda process.
Important:
- Administrator should be aware that the process is irreversible and it works only in one way. After migration documents will not work correctly in priint:planner.
- Process should be used carefully and only by administrator
- Before proceeding a backup of a database should be made and documents cannot be opened by any user/process or checked in InDesign.
Migration:
Admin can use an exsting process for publications or documents:
- Migrate Publication from Layout Briefing to Grid Planning
- Migrate Document from Layout Briefing to Grid Planning .
To run the process just select a document/folder/publication choose start a process from conext menu, choose a correct process and execute it.
To Note:
- Publication process looks for all the document inside the publication (recursively) which are NOT_DEFINED or STATIC
- Dynamic Documents do not need to be migrated
- It can be a long lasting process, from few seconds (few documents) up to many hours
- In server log can be checked current progres, is written how many documents are alread processed and problems if occurs
- The process doesn't delete or edit real grid elements or planning coming from priint suite