Configuration of Keycloak
This document describes Keycloak configuration for use with AuthService as OpenId provider. More details about Keycloak can be found here.
1. Running Keycloak
Keycloak can be run in many different ways. Some of them are: Docker, Kubernetes, OpenJDK, OpenShift, Podman. Here you can find more details.
1.1. Docker image
For running the configuration from this document we run Keycloak from Docker image. To do so you have to run following command: docker run -p 8080:8080 -e KEYCLOAK_ADMIN=admin -e KEYCLOAK_ADMIN_PASSWORD=admin quay.io/keycloak/keycloak:22.0.1 start-dev More detailed information can be found here.
2. Realm configuration
If you have your Keycloak ready to use, you should login to administration console and create new Realm. If you run your Keycloak as a Docker container, then thet console is available at http://localhost:8080/admin User: admin, password: admin
2.1. Create Realm
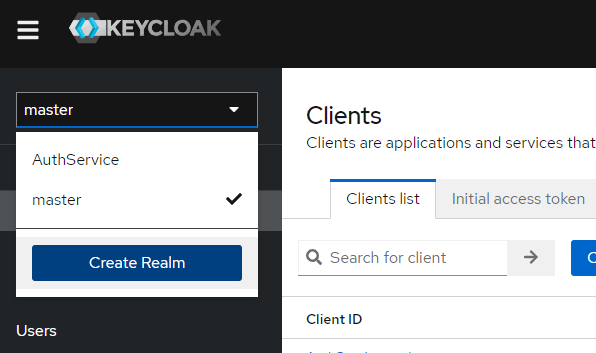
a) Click on "Create Realm" button
b) In the dialog, type "AuthService" as a Realm name and click "Create" button
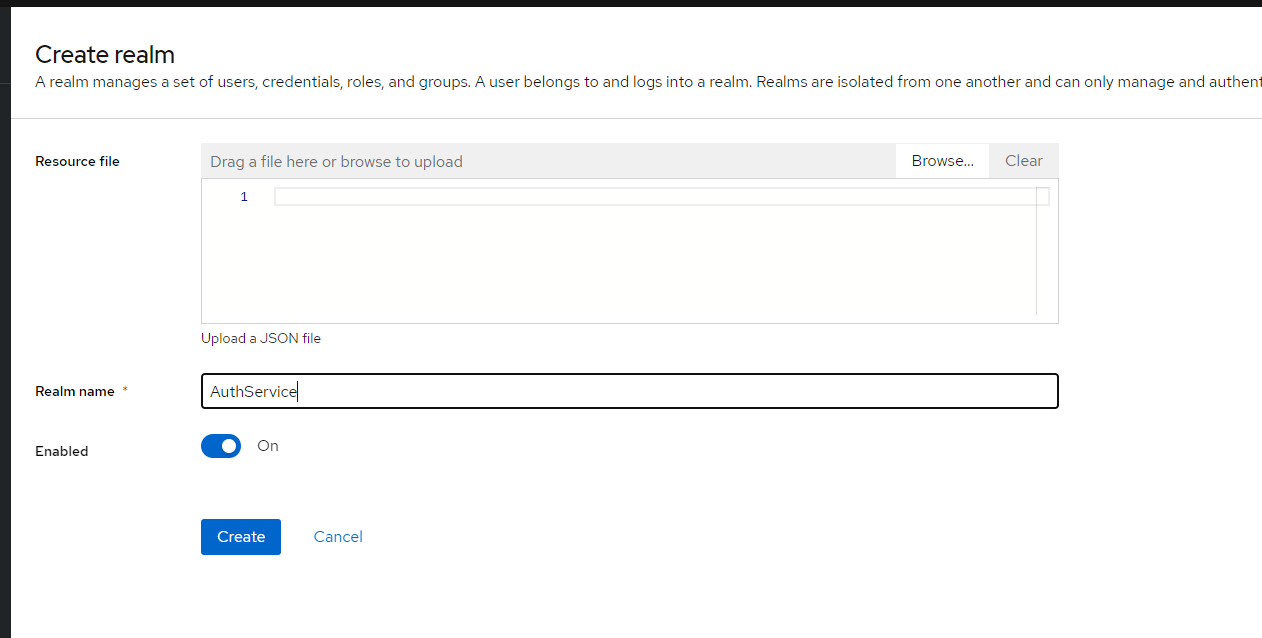
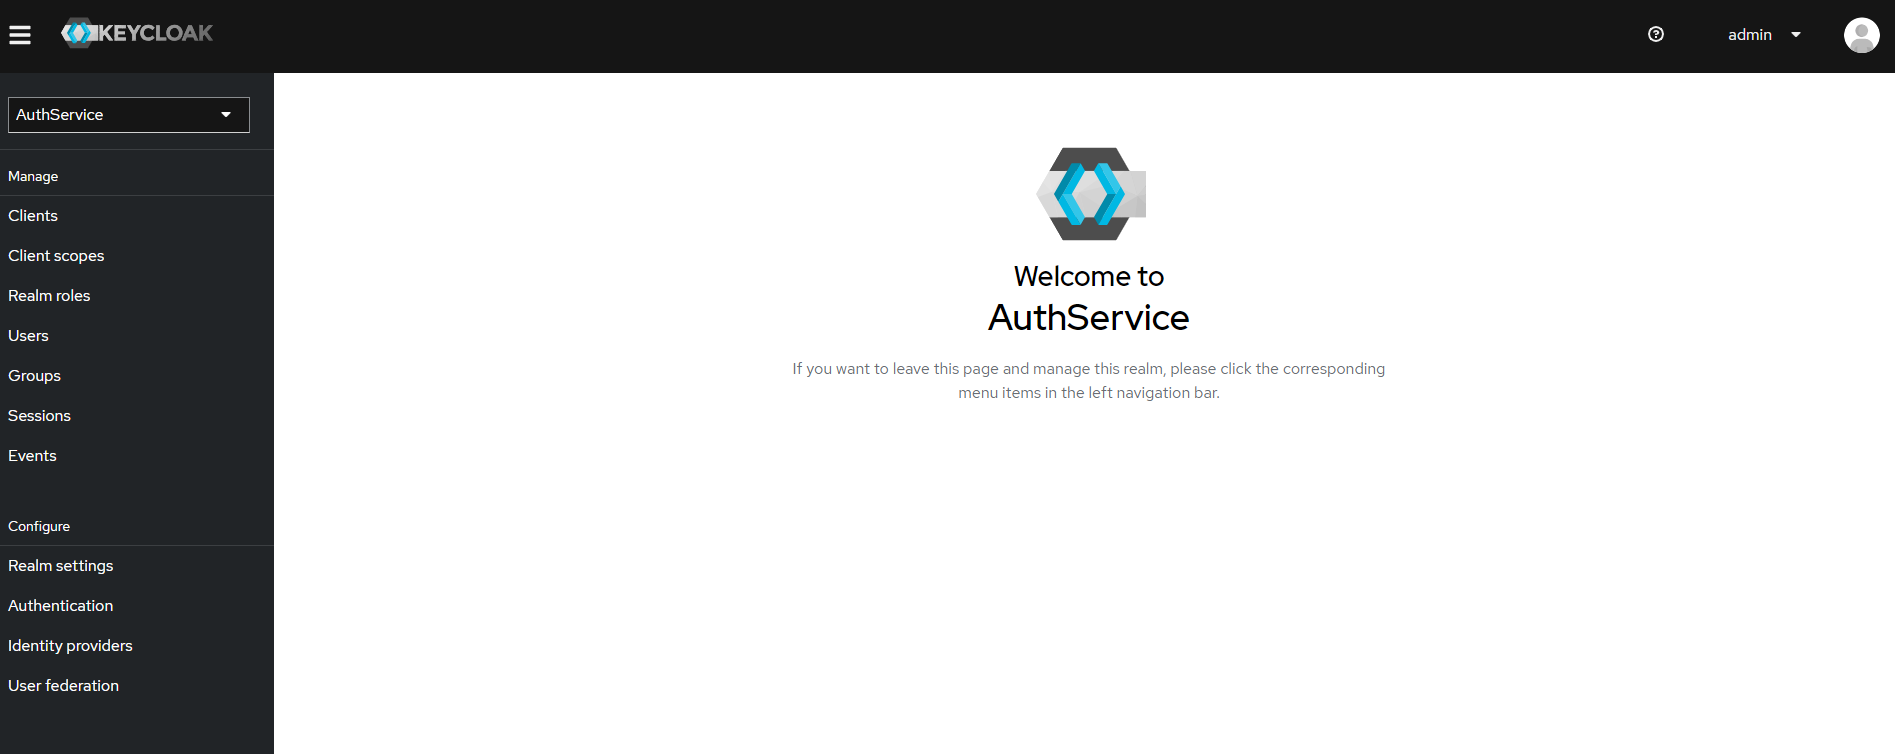
c) Realm is created
2.2. Create client
a) To create new client, you should click "Clients" menu item, and the "Create client" button

b) In the following form type "AuthService" in "Client ID" input. You can also fill "Name" and "Description" fields.
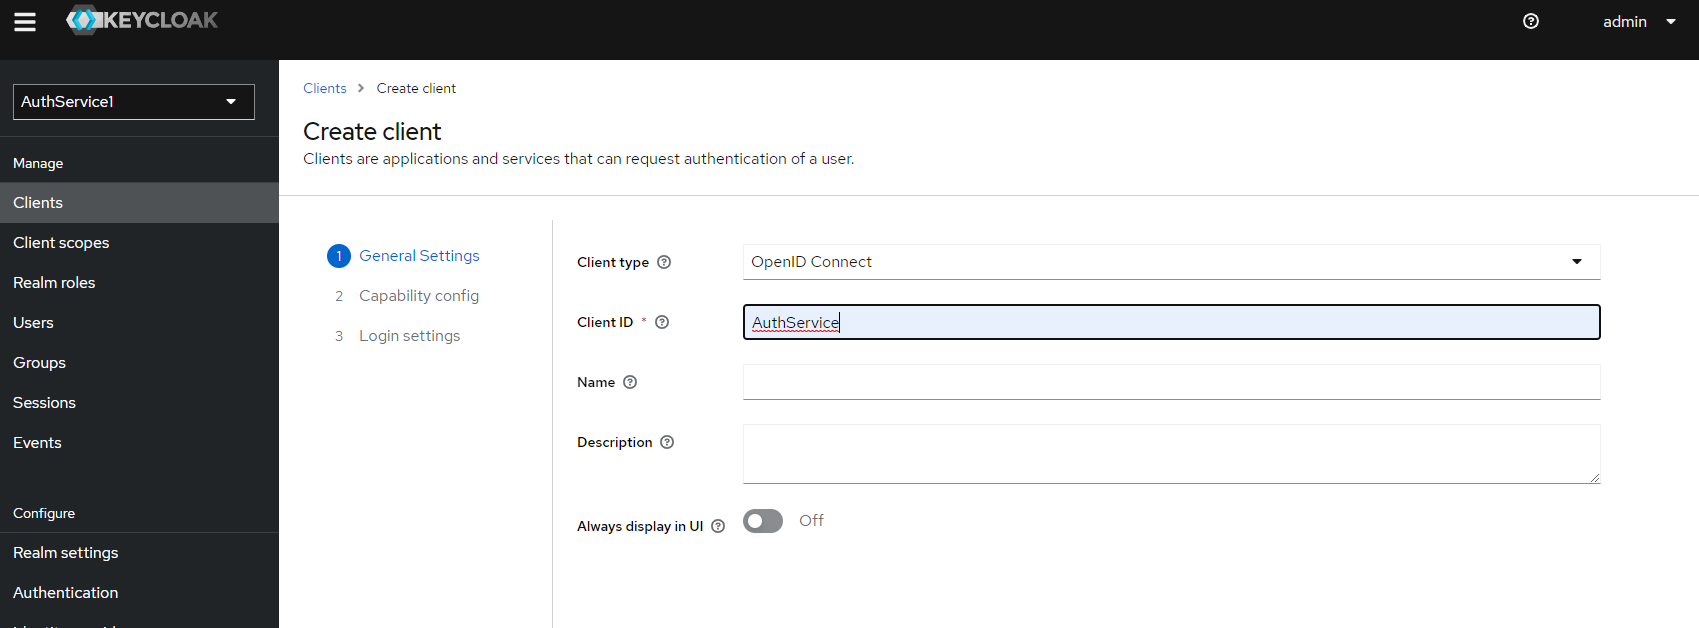
c) Go to the Next step.
- Switch "Client authentication" to "On"
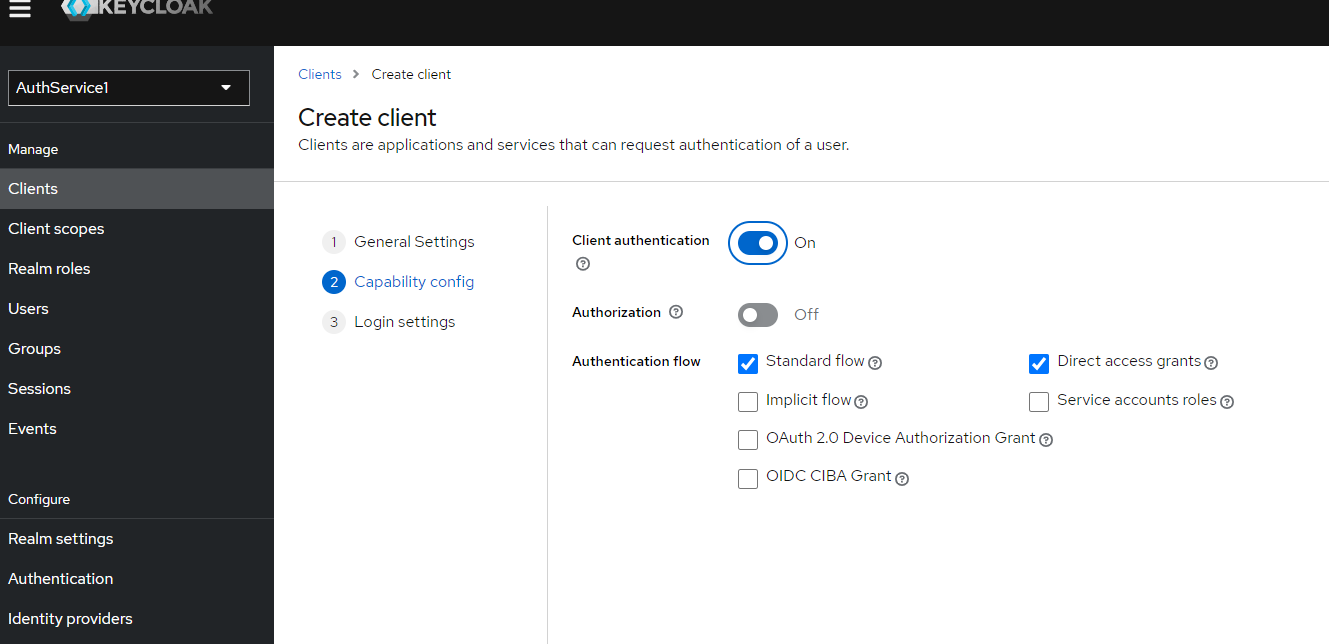
d) Go to the Next step.
- Fill in the inputs like you see on the picture and click "Save" button
Note: Please type "*" as Valid redirect URIs" 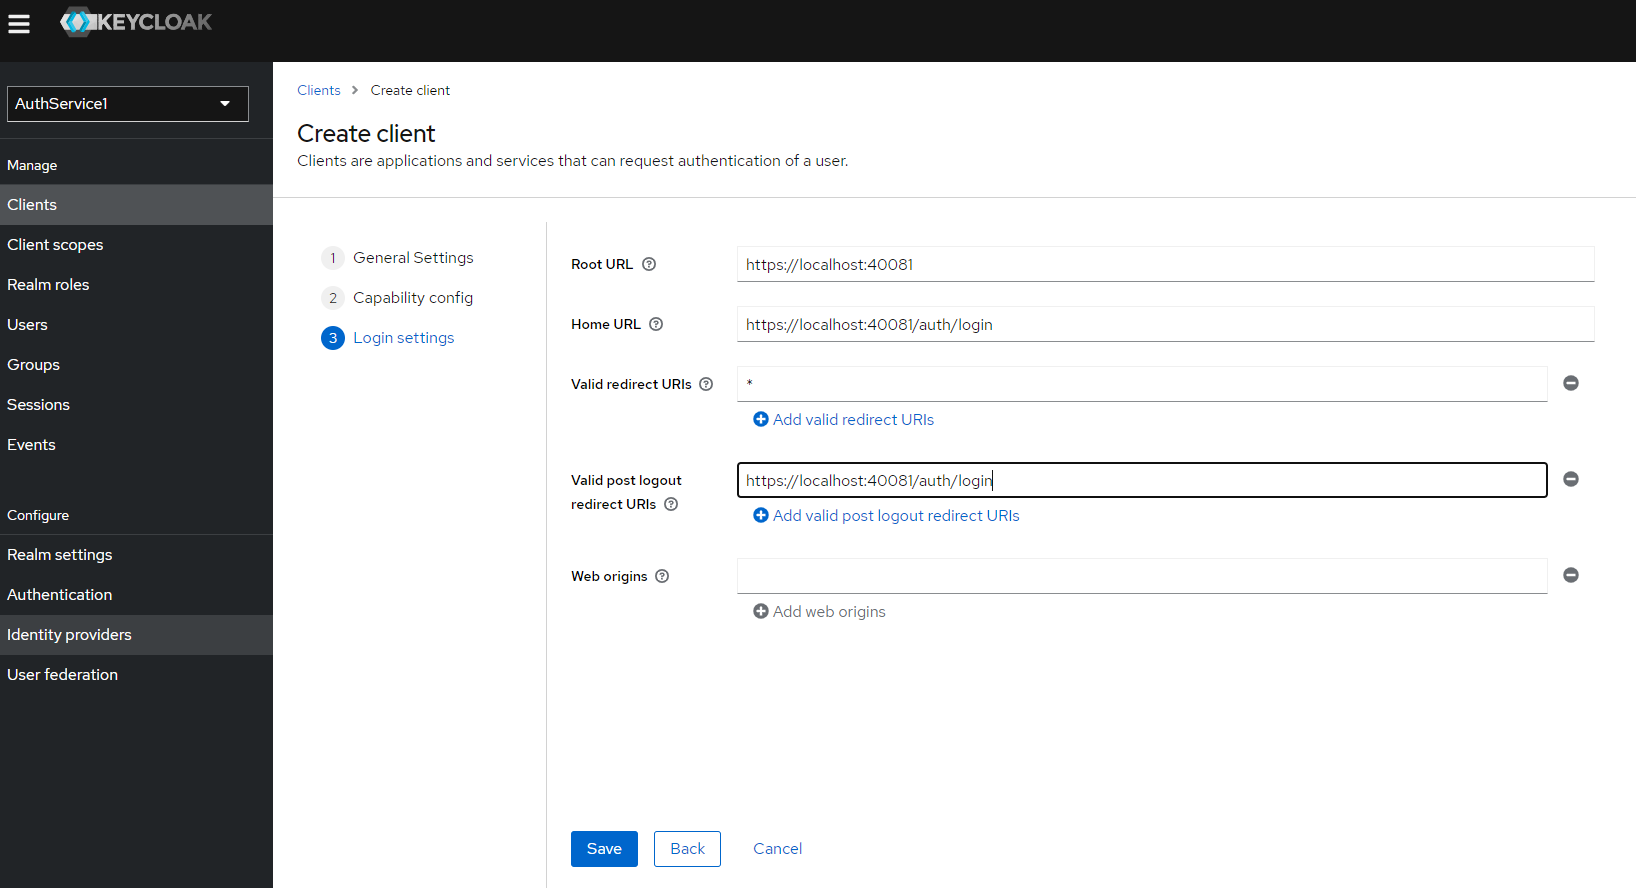
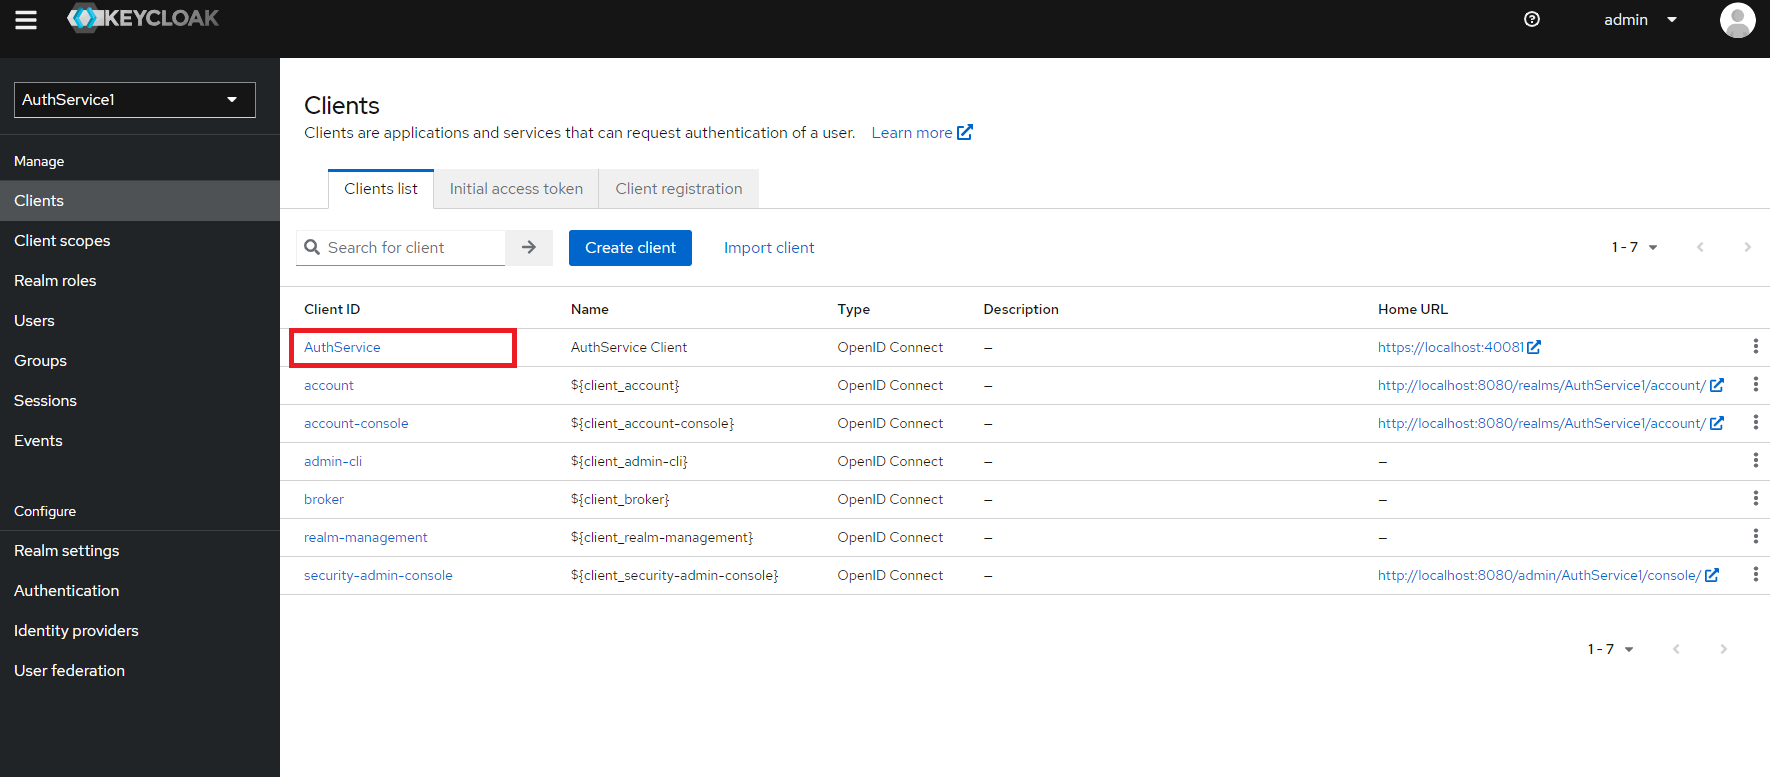
e) Client is created
- Click on "AuthService"
f) Go to "Credentials" tab
You can copy "Client secret" from here - it will be necessary for AuthService configuration - or set new one 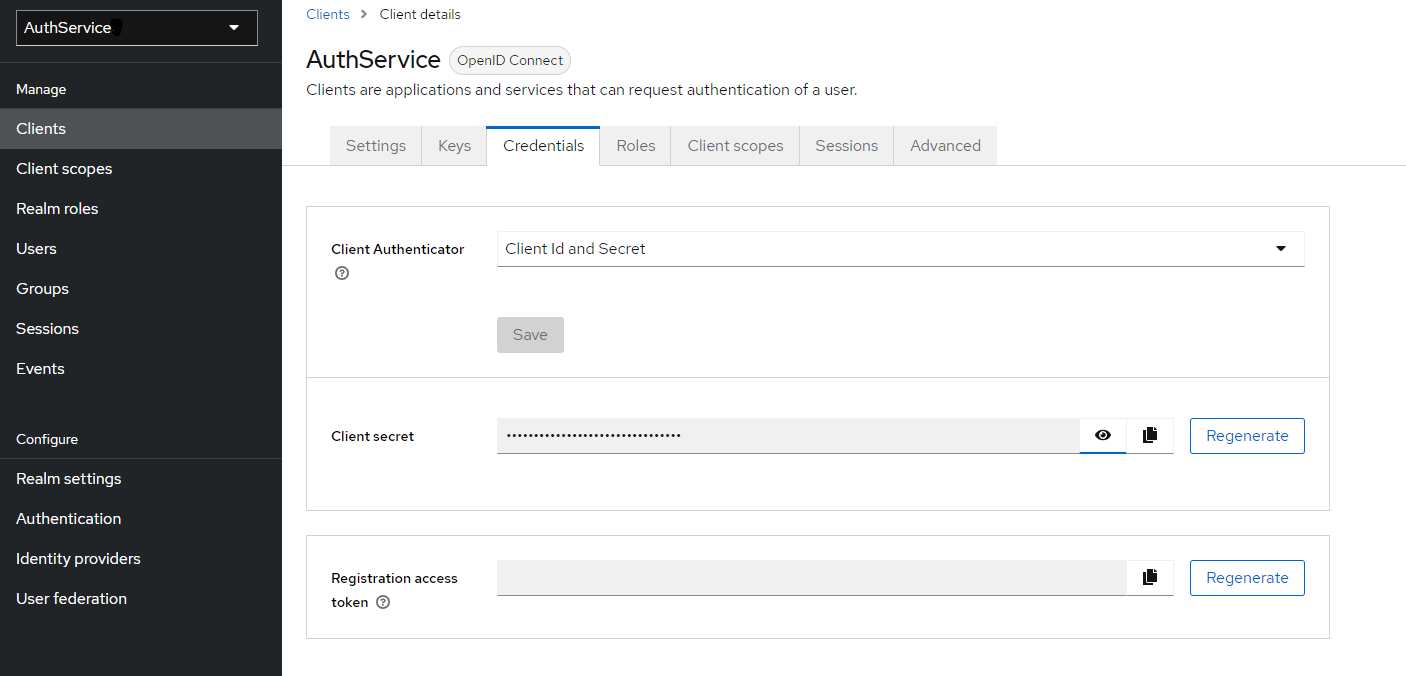
2.3. Create user
a) To create new user, you should click "Users" menu item, and the "Add user" button
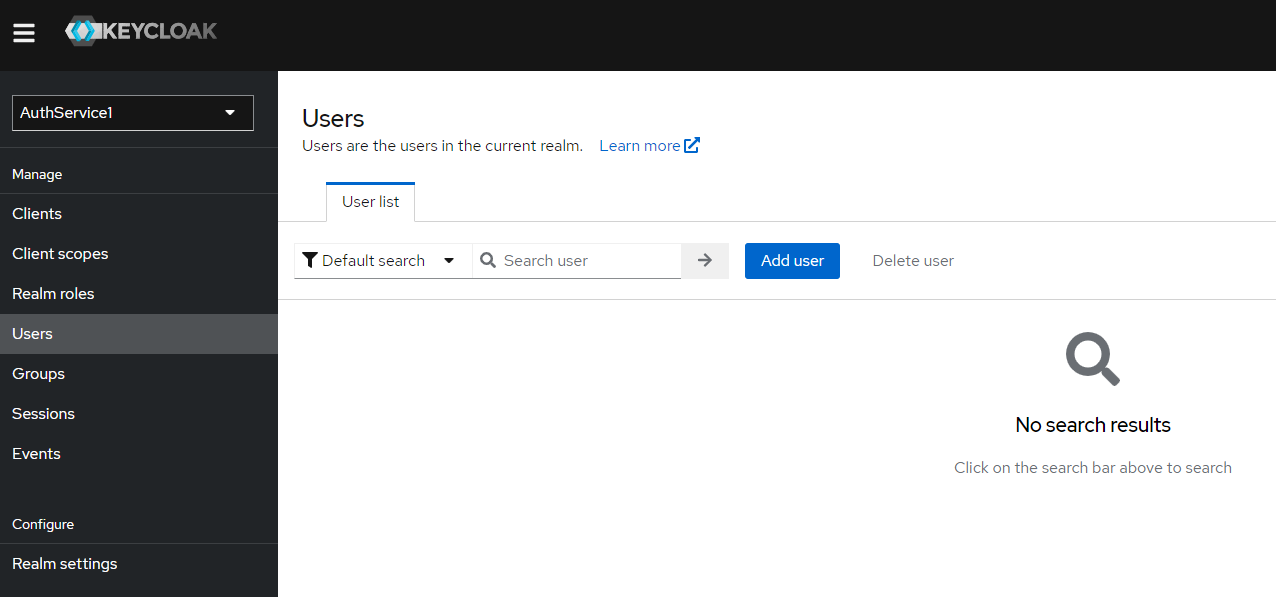
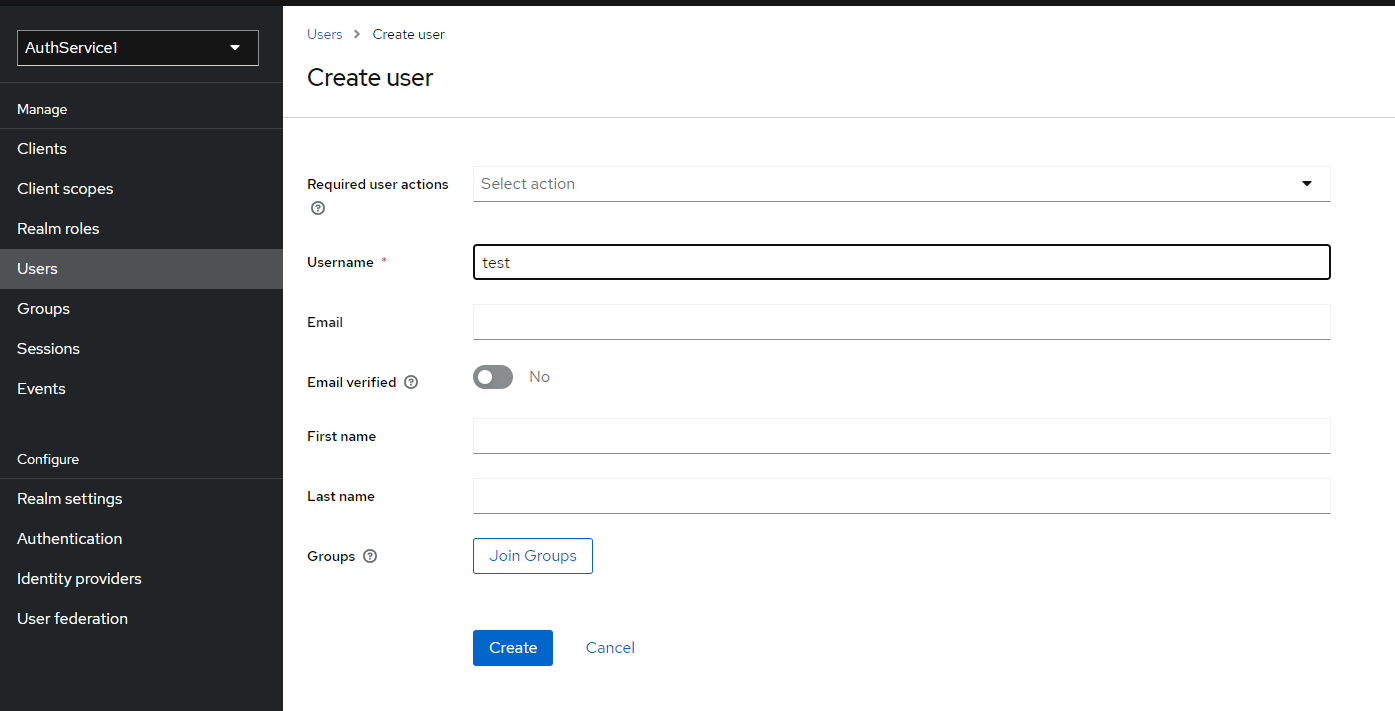
b) Fill in "Username" input and click "Create" button
2.3.1. Add user profile picture
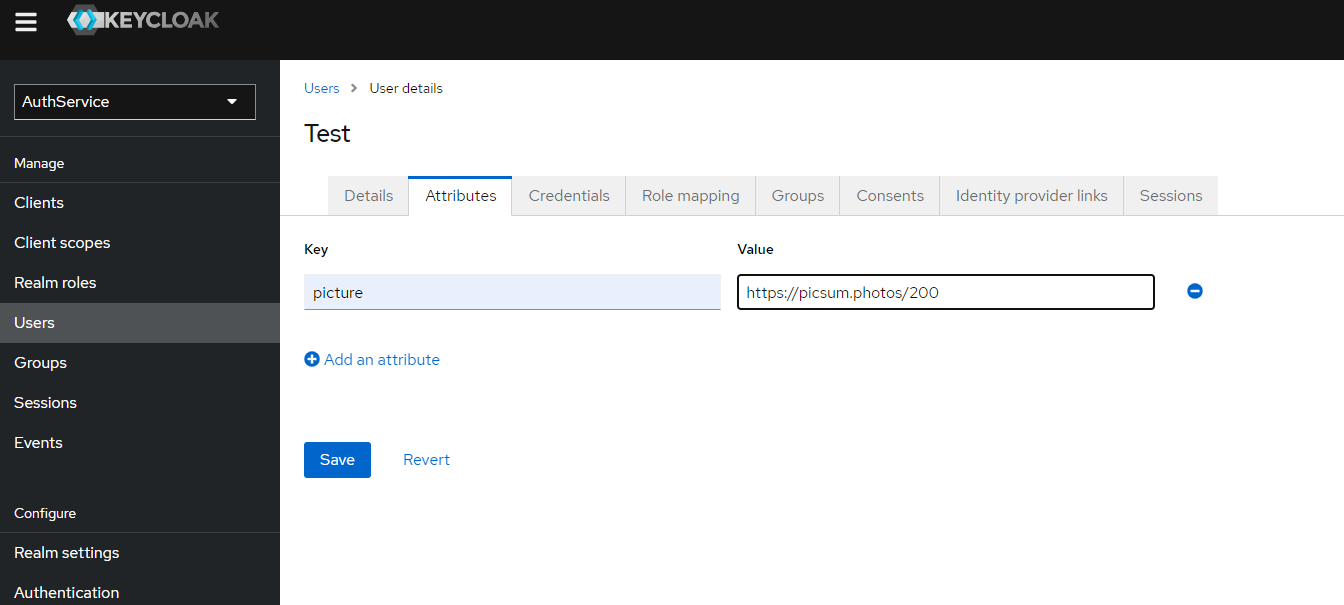
a) If you want to add user profile picture you have to add new attribute "picture" with valid URL of an image.
To do so you have to click "Add an attribute" link 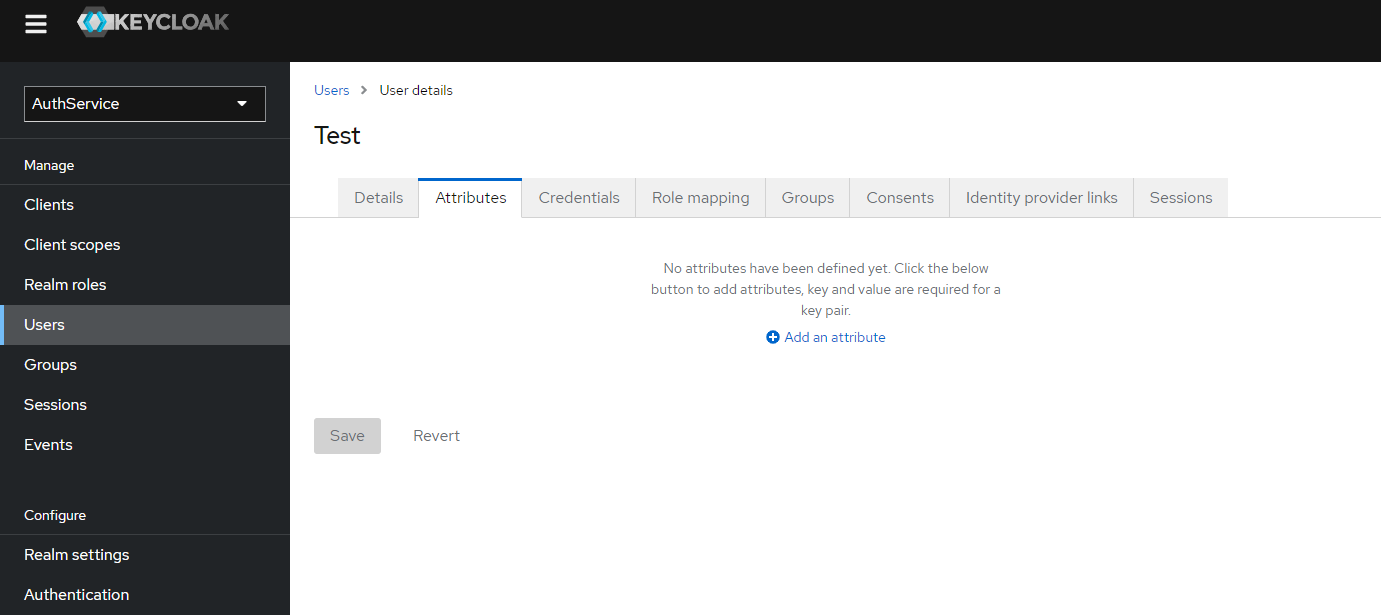
b) To save new attribute click "Save" button
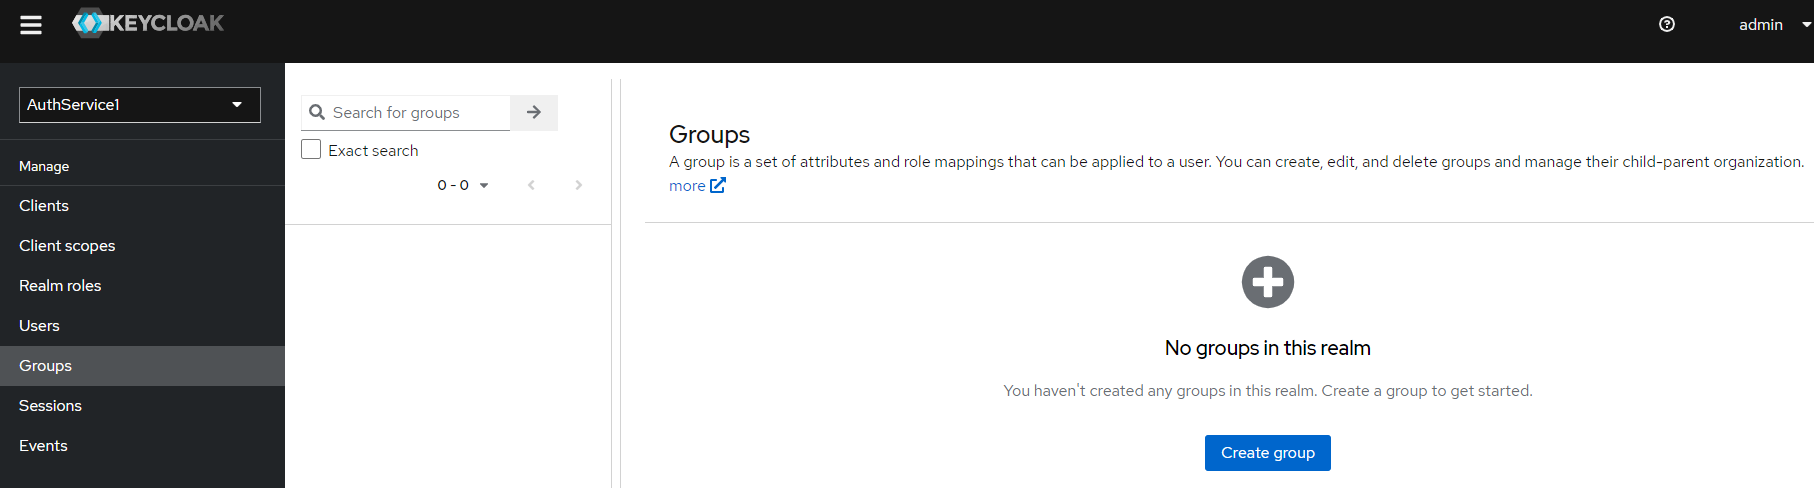
2.3.2. Create group
a) To create new group, you should click "Groups" menu item, and the "Create group" button
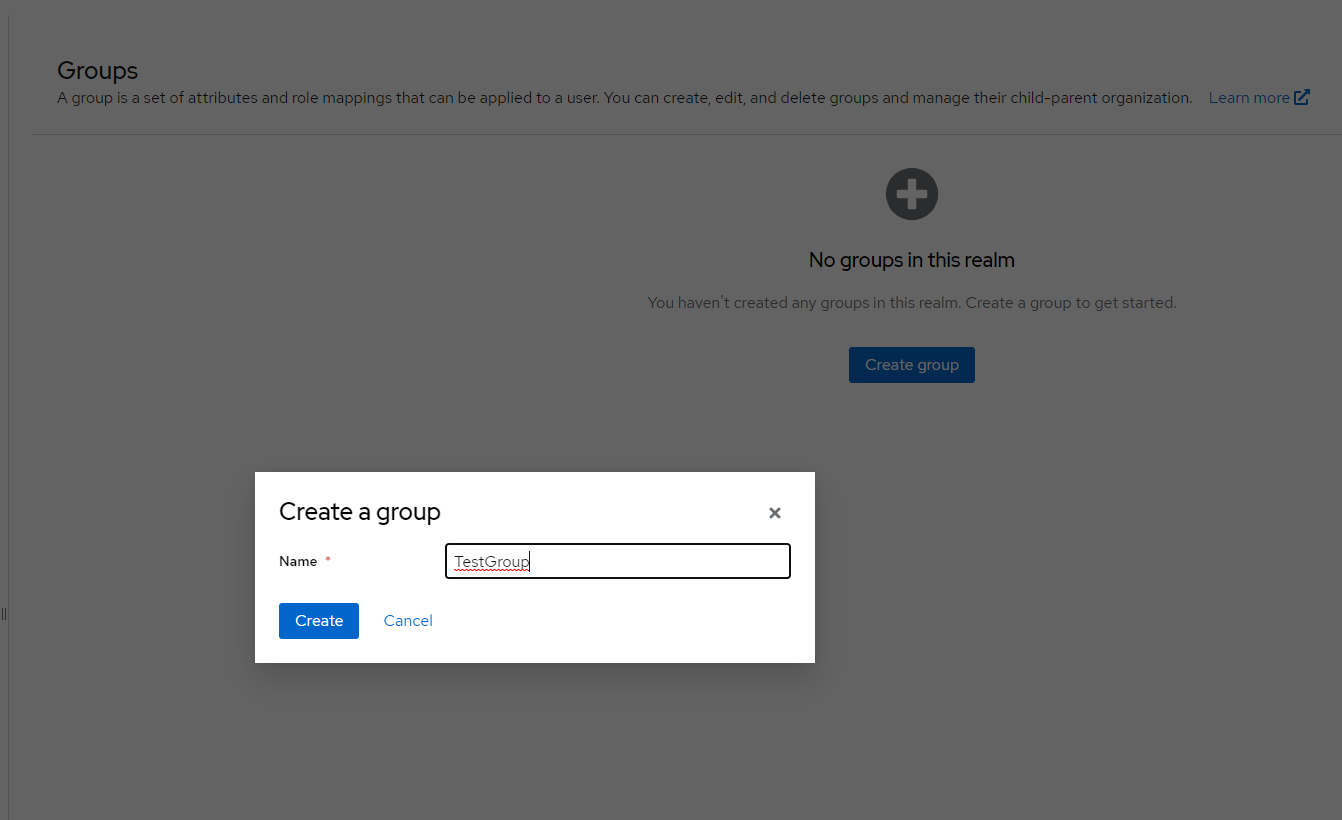
b) In the following form type group name and click "Create" button
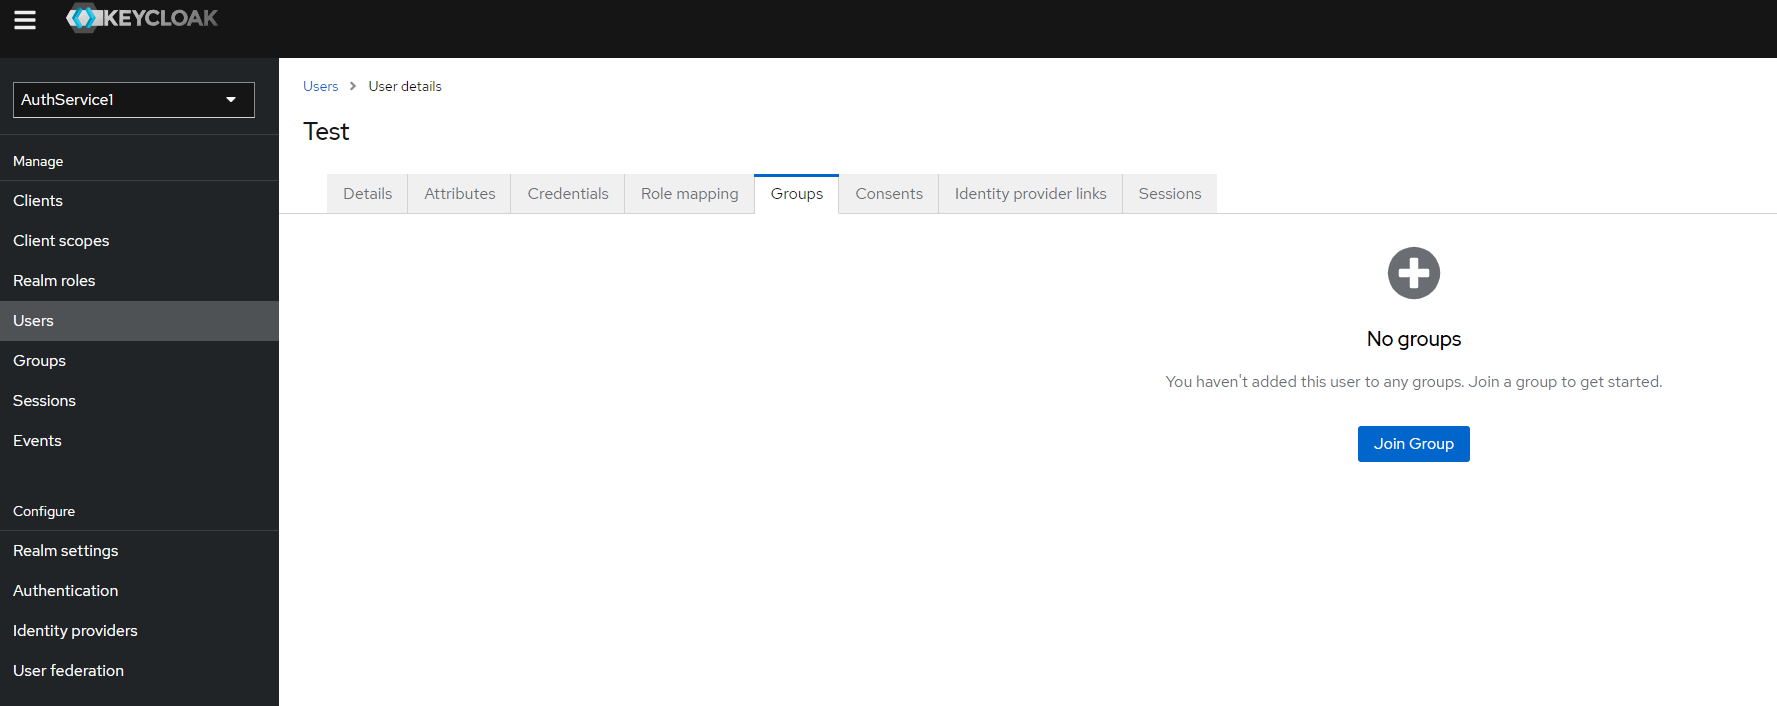
2.3.3. Add user to a group
c) To add a user to a group you have to edit user and in "Groups" tab click "Join group" button
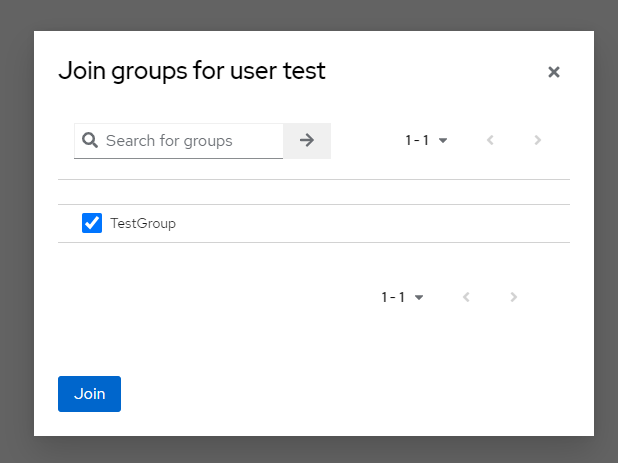
b) In the following form select groups that you want to assign to user and click "Join" button
2.3.4. Add groups attribute to scope
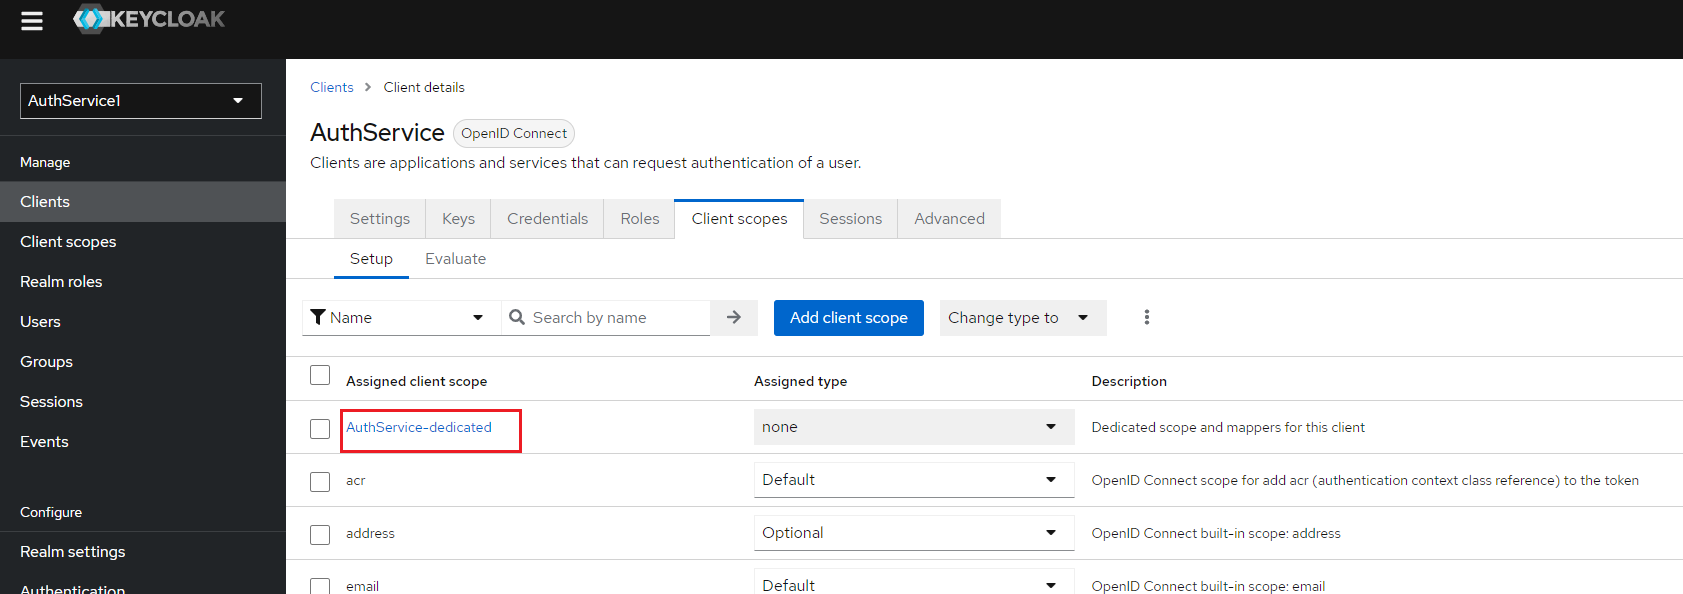
a) Go to "Clients" section and edit "AuthService" client

b) Click on "AuthService-dedicated" client scope
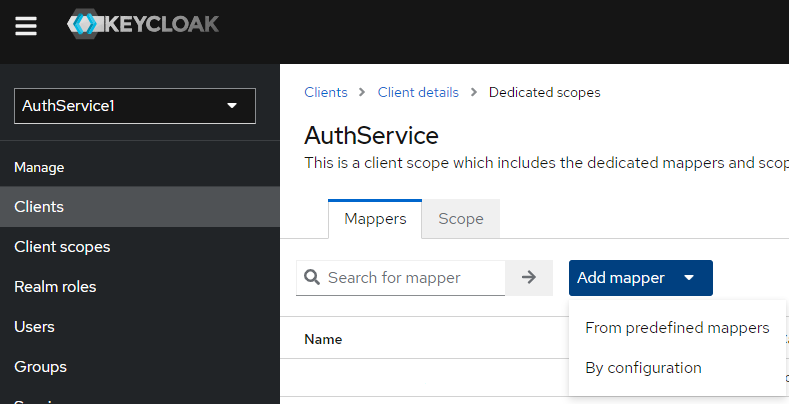
c) In the Mappers tab click on "Add mapper" combo and then on "By configuration"
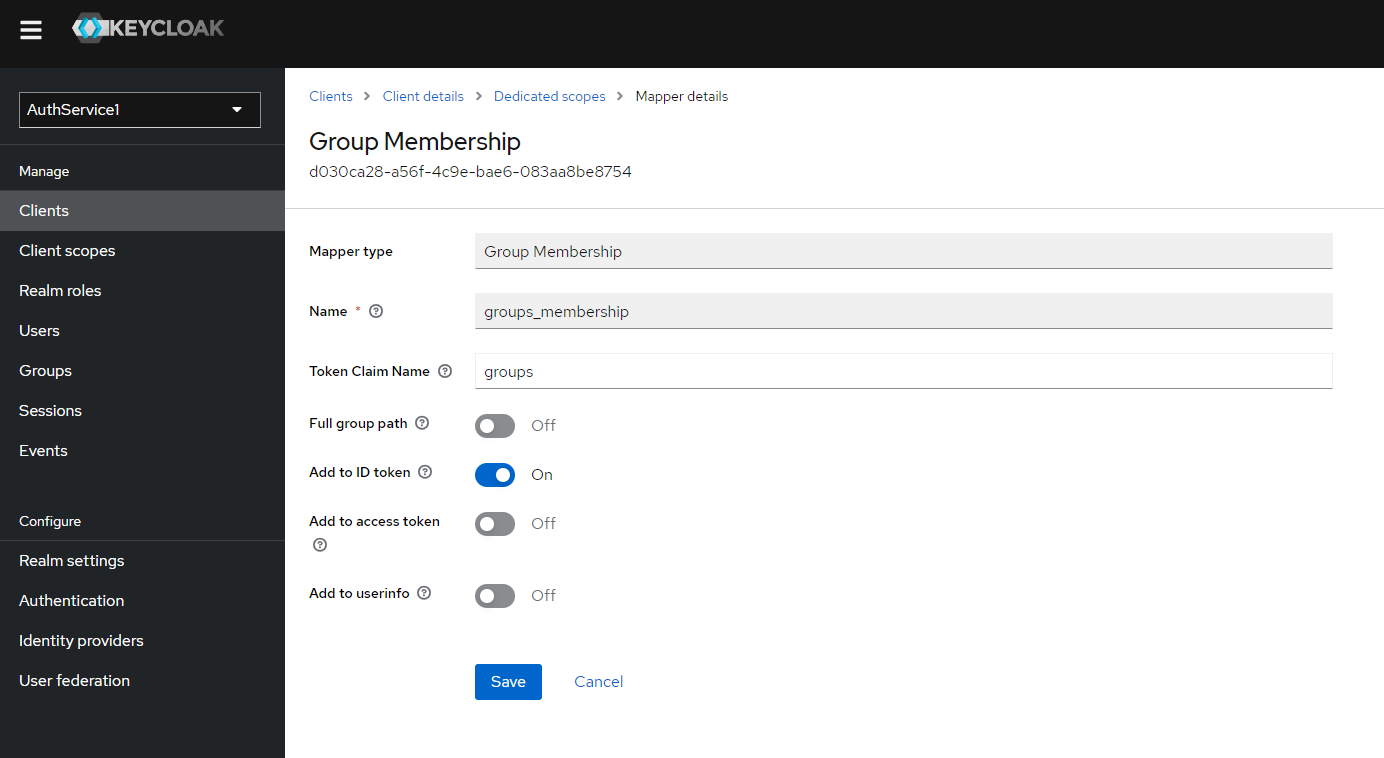
d) Fill the form like on the preview and click "Save"
3. AuthService configuration
To configure AuthService you need to take following steps:
a) stop Pubserver
b) edit {your_pub_server_root_folder}\\glassfish\\payara5\\glassfish\\domains\\pubserver\\config\\AuthService\\config.xml file and add following entry to realms section
<realm name="Keycloak">
   <type>org.pac4j.oidc.config.OidcConfiguration</type>
   <discoveryURI>http://localhost:8080/realms/AuthService/.well-known/openid-configuration</discoveryURI>
   <clientId>AuthService</clientId>
   <secret>pLiRDxhX3ob3DcoTTjJYqRKRHCu9U7Kj</secret>
   <useNonce>false</useNonce>
   <membershipAttribute>groups</membershipAttribute>
   <membershipMapping>TestGroup:All Rights</membershipMapping>
   <membershipTeamsMapping>TestGroup:TestTeam</membershipTeamsMapping>
   <defaultTeam>TestTeam</defaultTeam>
   <defaultRole>All Rights</defaultRole>
   <defaultDataset>aio</defaultDataset>
   <displayNameAttribute>name</displayNameAttribute>
</realm>
discoveryURI - this URI should be changed according to your installation, for example host/ip, port, realm name (here AuthService) clientId - name of the client you created secret - you can copy it from Client detail's "Credential" tab
c) start pubserver
You can read more about Authservice configuration here: AuthService Configuration